Architectural Gilding: Walls, Ceilings, Ornament Proper Preparation of Surfaces (Part 2)
The continued talk from March’s feature on the art of decorative interior plaster, this time with a focus on the painter.

The term “architectural gilding” refers to adding detail or accents in metal leaf while gilding in areas of a room (ranging from large to small). This intricate process involves a deep collaboration between the house painter, decorative painter and interior designer, who all must work together to ensure a refined finish.
SPECIFIC PRODUCT SUGGESTIONS:
Sprayer: HVLP- Apollo Power 5 (EAR-02) with 1.5 to 1.8 needle nozzle and C standard air cap or best results
Basecoat: HV’Art Decorative Canvas Basecoat (PHV-04)
Primer: HV’Art Gesso Style Primer GSP (PHV-02)
Brushes: Rondin Brush (TL-14), Spalter Brush (GLZ-07), Detail Brush (TL-04), Spalter Brush Long Hair (GLZ-37), Lettering Brush (TL-03), Varnish Brush (GLZ-25)
Rollers: Microfiber (TRB-03)
This article is a continuation of the article “An Introduction to Architectural Gilding: For Walls, Ceilings and Ornaments” published in March 2023. This article will further outline the proper preparation technique needed in order to prepare the surface prior to having the decorative painter (i.e., gilder) take over the project. It is important for the house painter to know the proper technique prior to estimation to ensure that the scope is understood and is estimated correctly. This article will define what is needed from the house painter’s crew when preparing the surface for gilding.
In order for the gilded finish to “shine,” preparation is paramount to developing the overall finish. We all know the particulars of a Level 5 finish. Proper preparation for gilding requires a surface to be above Level 5 (or at least it needs a check and double-check that it is a perfect Level 5). With the extra level of labor needed, thankfully, areas that require gilding are typically smaller in size. Each step taken guarantees the success of the overall finish. This is something we all know as paint applicators, but with gilding techniques, it is crucial.
First, an outline of the steps needed, after which I will detail how specific areas have different preparation requirements. Finally, I will lay out my favorite products for an ideal finish.
Substrate Prep
What makes an ideal substrate for gilding? No matter what type of substrate, it must be free of nicks, blemishes or bumps. All of these issues will compound into the final layer. Paint applications will not fix substrate problems.
Once imperfect areas have been filled and the material used has cured, a thorough sanding (from 220 to 400 grit) is a must, followed by dusting and vacuuming to remove dust. Additionally, to go along with the “check and double-check” level of finish, a flush, bright LED light should be flashed to really see any issues that need to be addressed. If you are thinking, “Is this really necessary?” just know that the gilded technique is only as good as the smooth surface underneath.
Priming
The standard two coats of primer are a general requirement (see below for specific area requirements). The application of primer should be well-executed without tool marks (brush or roller). Between the coats, check for blemishes before applying the second primer coat. Furthermore, after proper curing time, any existing marks should be sanded down only after the second coat. Use 400 to 800 grit dry paper for this process, any lower grit offers the possibility of over-sanding and burning through. Beyond the sanding, don’t skip the dusting and vacuuming steps (an often overlooked step). However, for gilding, it is extremely important that all dust particles are removed instead of just being brushed aside. For an even better result, use a tack cloth and brush attachment on the vacuum to zap the dust. Finally, after reviewing the primer step, look again for burned-through areas where the primer has been sanded off. Apply only a surgical amount of primer to those areas with a detail brush (avoid brush marks or overlap).
Basecoat
At this point, the prep is more than halfway done. The gilder will most likely take over the project at the end of the basecoat (and even the final sanding). So, at this point, just stick with careful attention to a paint application and the project should be on track.
Follow the same parameters as with the priming with an exception. The final coat of basecoat should be thinned by 15 to 20 percent to ensure a level finish. If the final sanding is in your contract, it would be done with dry paper from 800 to 2,000 grit or wet sanding from 600 to 1,000 grit. Essentially giving a complete polish (polished in the sense it is burnished by sanding) but with a matte luster. Gilding prep: From here, a gilder will apply a thin coat of amber shellac (thinned with alcohol up to 1:1). This will create a glass-like surface ready for the sizing (a sticky coat before the leaf).
This is a basic rundown of the preparation steps. Before we go into the typical gilded areas in a room, let’s discuss tinting primer or basecoat.
Tinting
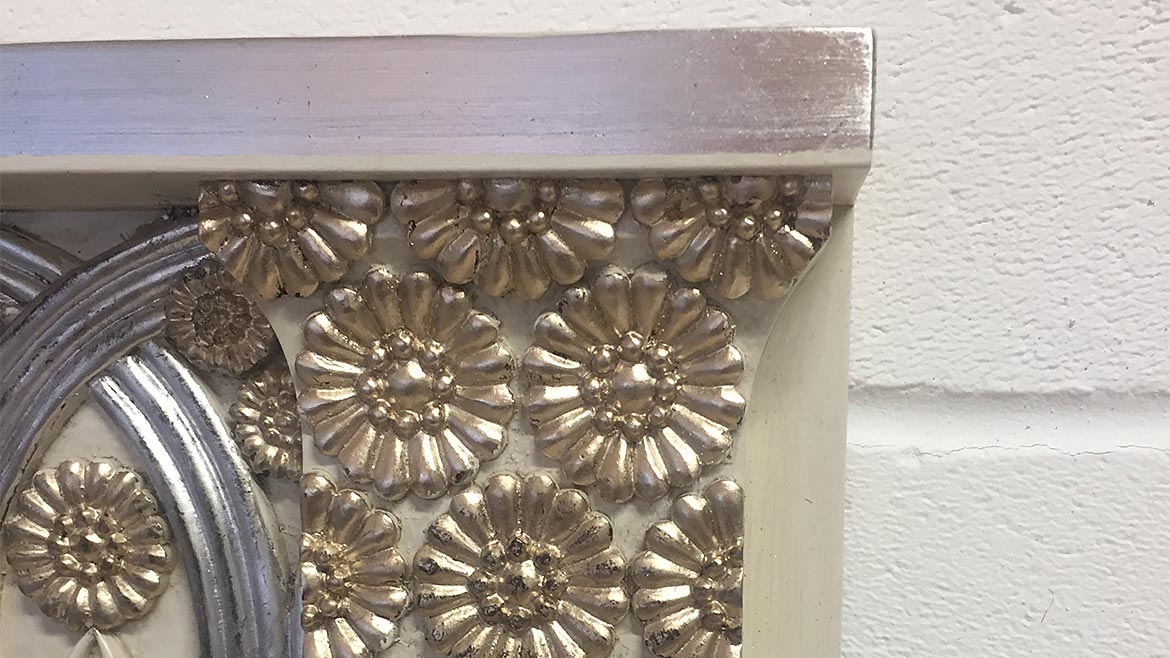
A tinted surface may be desired in preparation for the gilder. To be very general, here are a few common colors: If using gold leaf, use an industrial yellow color (bright like in factory marking); for copper or pinkish-hued metals, a red ochre color works; for cool metals like silver or palladium, a light grey is sufficient. *A specific tonality of red ochre would be specified for a “bole” technique, which is a traditional gold leaf gilding that involves the aging (rubbing off) of the leaf to expose the under color.
Types of Primer/Basecoats
It is essential that the proper products are used in gilding preparation. Just any brand won’t do. Here are some general qualifications:
PRIMER:
- Oil or water-based lacquer
- Must be self-leveling
- Must sand to a powder
BASECOAT:
- Oil or water-based lacquer
- Hybrid types work well but avoid general latex basecoats that don’t level or sand to a powder.
- High surface retention (but not too high)
- Satin sheen is best (avoid high gloss as it will repel the sizing)
*Always be sure to test the products first on a sample to ensure compatibility.
Application Methods
There are three main application methods of primer and basecoat in preparation for gilding, which is an application by brush, roller or spray.
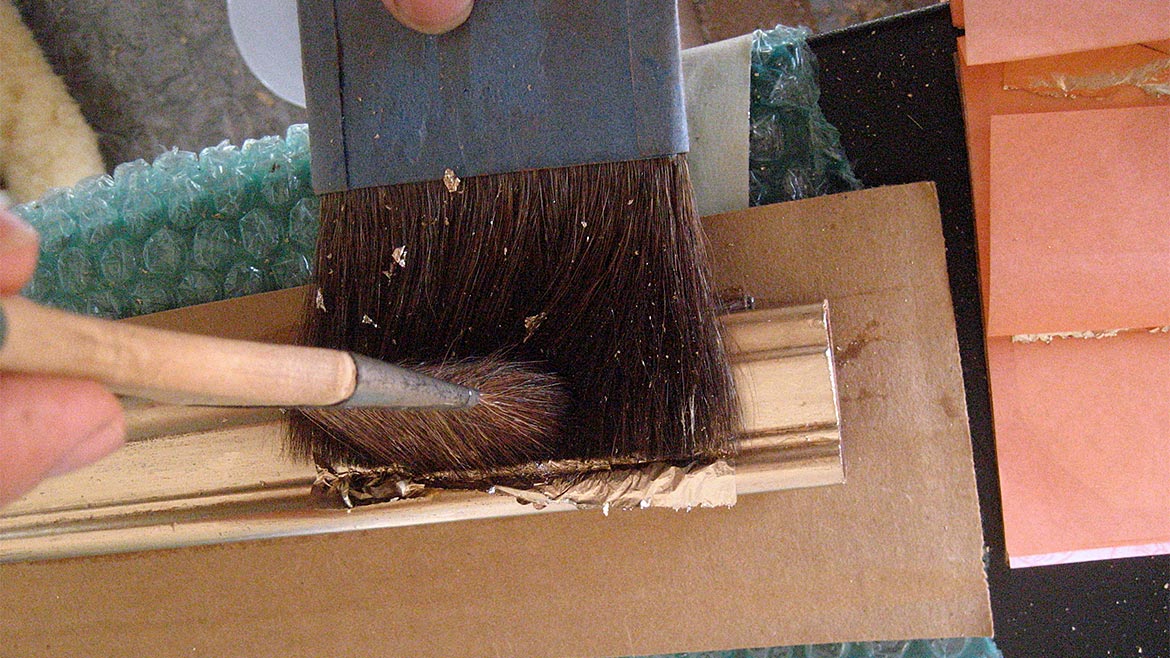
Brush: For larger areas, use a varnish brush with soft hair. For smaller spaces, a rondin brush that is made specifically for application for striping on moldings. And finally, use a detail lettering brush for the tiniest lines or ornament.
Roller: Use a whizz, rabbit-foot (up to 6 inch) microfiber roller. “Tip” the freshly rolled small area with a 150 to 200 mm wide spalter brush. Always use a light touch to avoid brush marks.
Spray: Use a high volume low pressure over airless or conventional sprayers. HVLP offers the highest transfer rate (80 percent). It can be sprayed on-site due to less overspray and fumes, and has easier clean up. Conventional sprayers are okay, but a spray booth will be necessary. An airless sprayer is okay if a proper tip is used for a smooth application.
You can use this to caption images that will span the full width of the article
Application Per Project
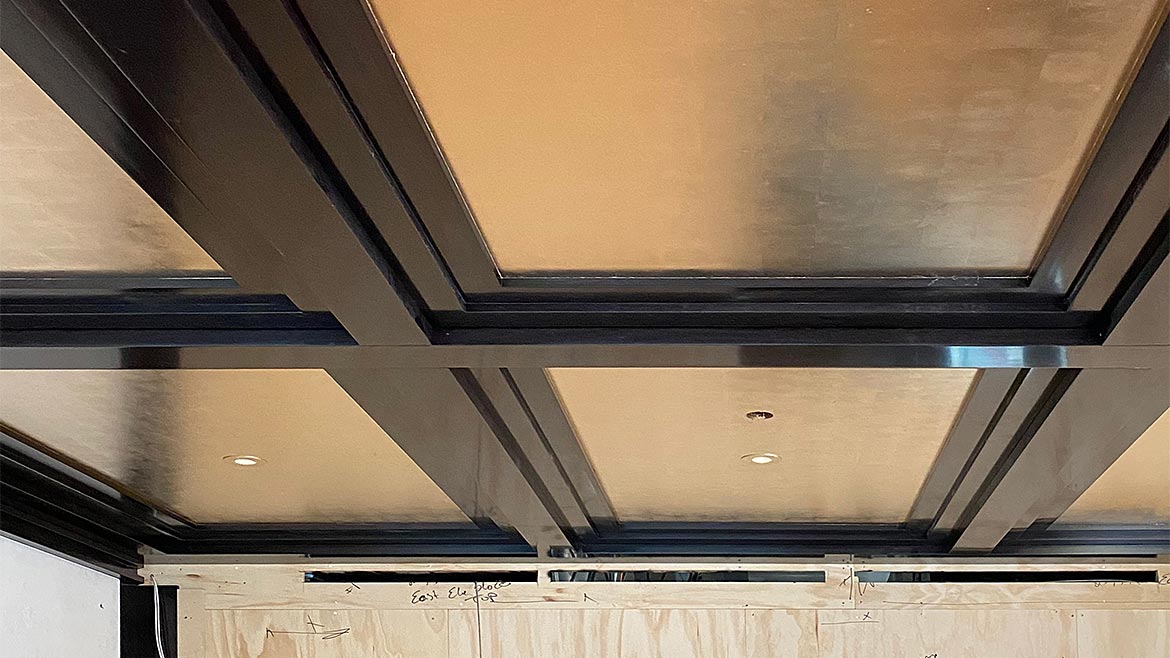
WALLS/CEILING:
It is unlikely that a gilded finish will be done on an entire wall (unless it is a very small room). More likely, a panel or section of the wall would be the scope. Ceilings, on the other hand, are common spaces for gilding.
Use the same preparation steps as outlined above, except:
- Start with a lower grit sandpaper over unprimed substrate.
SMALLER WOOD PANEL, FLAT FURNITURE AREAS (areas less than 4 feet by 8 feet):
Use the same preparation steps as outlined above, except:
- Small areas are better sprayed because they are commonly observed at a closer viewing distance so the finish should be even more refined.
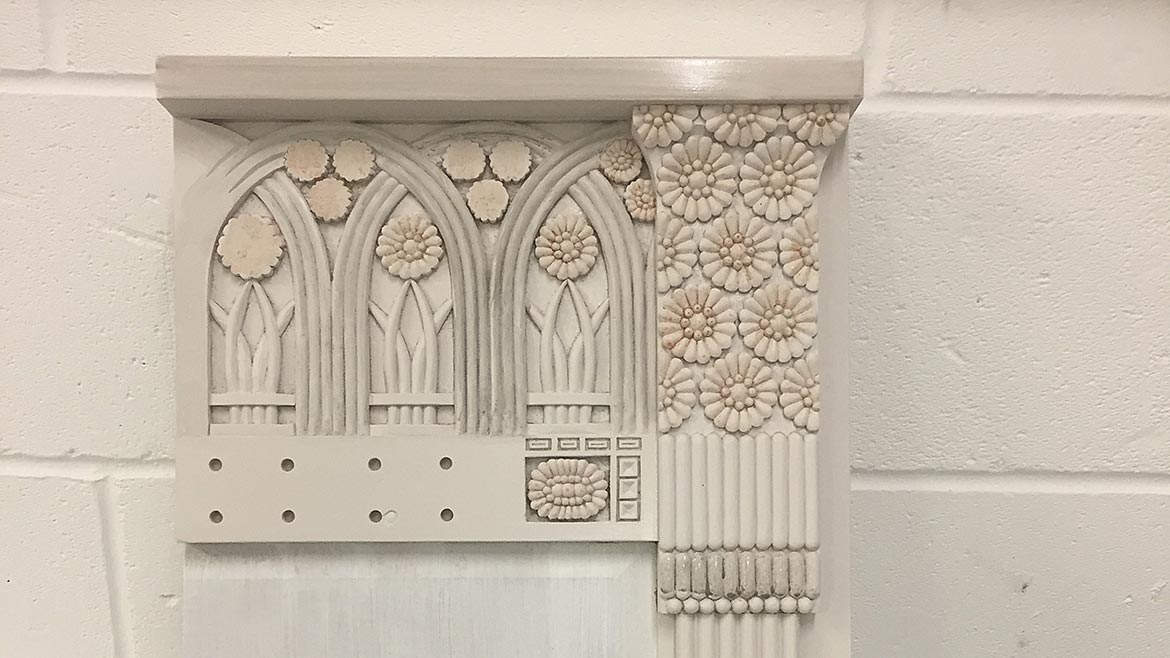
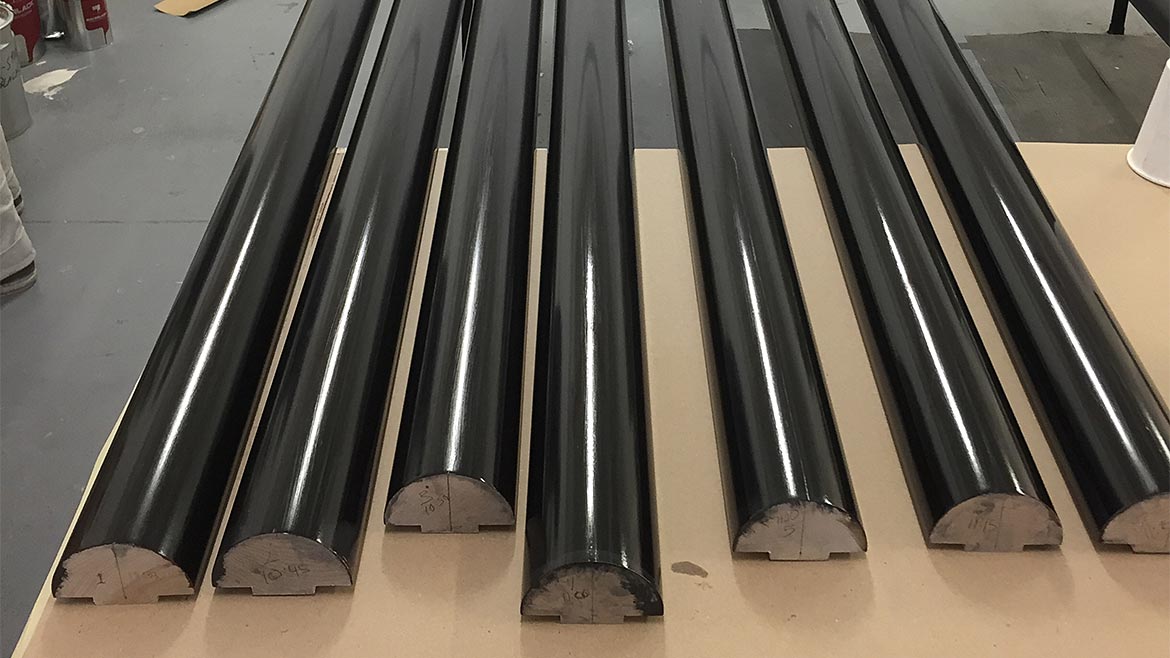
MOLDING, STRIPES AND ORNAMENTS:
When prepping these areas, the substrate will most likely be wood, plaster, or resin. In these delicate areas, sanding machines cannot be used. Small sanding pads or sponges must be used instead. The preparation is intricate and detailed:
- For raw plaster, assuming it is fully cured, use a hydrometer to make sure the humidity level is less than 5 percent. Seal with diluted amber shellac to ensure maximum penetration. Use small brushes like a rondin brush.
- For untreated, raw wood, seal with shellac before priming.
- For a resin-clean surface with Naptha to remove casting grease. Coat of shellac before priming.
*For these surfaces, two coats of tinted primer are enough prior to the gilder’s work. The gilder will probably tint the shellac in replacement of the basecoat.
OTHER SURFACES:
Other surfaces could include gilding over glass or metal. Iron will need a rust inhibitor prior to the basecoat. Aluminum, steel and brass should be washed with acetone first, followed by a diluted coat of shellac.
Looking for a reprint of this article?
From high-res PDFs to custom plaques, order your copy today!


