Understanding Plaster Finishes for Decorative Painters
The New York artisan returns with a new feature regarding intricate/ornate finishes for interior plaster.
One cannot speak of plaster finishes without understanding the difference between the terms “finished plaster” and “plaster finish.” In the preparation trade, finished plaster would be a plaster topcoat that is often used as a substrate and leveling plaster for preparation, such as Diamond brand one-coat plaster and the like. Whereas the term plaster finish is commonly used as a general term to refer to any type of troweled or brush-applied lime plaster applied by the decorative painter, the main difference is that the “finished plaster” is meant to be covered with primer, paint and so forth, whereas the plaster finish is itself the decorative finish.
The History
This idea of applying plaster finishes, commonly referred to as polished plaster or venetian plaster, is a fairly recent trend that started in the 1990s to duplicate the effect of Old World plaster finishes found in Italy and all over Europe. Originally, these plaster finishes were used as decorative finishes over a mortar wall. Some of the earliest traces of these types of finishes date back to antiquity; everyone remembers the Pompeian wall and the grotesque walls found in Italy, which were made well over 2,000 years ago. An interesting fact is that the term venetian plaster, which has been broadly used for every type of troweled-applied plaster finish, comes from the 16th century.
In the city of Venice, Italy, most of the city is built on stilts over the sea. At the time, the Venetians quickly realized that dressing up the interiors of palazzos with real marble walls like they typically would with buildings built on solid land would not be sustainable due to the heavy load bearing that these houses would endure. As a result, they came up with the idea of crushing marble into a fine powder and mixing it with lime. They applied a very thin coat measuring 2 to 5 millimeters (.08–.2 inches) that looked and felt like solid marble but with a hundredth of the weight of real marble. As a result of this finish being used specifically in Venice, it became known as venetian plaster. Venetian plaster can be polished and burnished just like real marble since they both share a calcium carbonate base.
Types of Plaster
In general, when speaking of polished plaster (using general terminology), it refers to any material that will either come in a mortar or paste that can be applied by hand in several thin layers to create a system that can be polished in the wet stage and sanded in the dry stage to a polished finish.
Let’s concentrate on the two main families of those ready-made products: the first, which is lime-based, and the next, which is acrylic-based and is mixed with a variation of both lime and acrylic (each product is combined at a different ratio).
The original polished plaster finishes were lime-based, combining pigments with calcium carbonate and water to create a stucco-like paste that can be applied on top of a masonry wall. Nowadays, stucco is less popular, and the great majority of substrates are going to be drywall-like surfaces.
During the 1990s and 2000s, the industry started creating lime-based plaster that had higher amounts of acrylic binder, which allowed the application of plaster finishes to sealed surfaces as opposed to the moisture absorbing into mortar-based substrates. This made it very convenient to apply those finishes onto interior walls.
The content of acrylic varies greatly from product to product, and generally speaking, the cheaper “type of material” tends to have an excessive amount of acrylic and a lot less lime. Whereas a lot of the imported products tend to be stronger in lime and a little less with acrylic. Not to say one is better than the other; the deciding factor depends on convenience in application, material preference, and one's ability to apply. The acrylic-based plasters that are often made by the big corporations are a lot more forgiving, easier to use, less aggressive on your skin, and easier to touch up. But these materials lack the luster and the visual quality that high-quality multilayered finishes allow you to develop.
The great diversity of manufactured products allows both professionals to find the perfect products for their applications. A lot of it comes down to preference and knowledge of material for the best ease of application or complexity of the look. A lot of the names are in Italian; most of them originated in Italy, and each region will have its own particular flavor and look. Fortunately, now a days a lot of those unique finishes are easily distributed, imported, or manufactured locally using those old-world recipes.
In the lime-based plaster family, this is where you will have a lot more variety, both in texture and in sheen.
- Marmorino has a grittier surface (meaning the aggregate is much bigger than venetian plaster). Marmorino often requires a "wet-on setting" application, whereas you apply the second coat directly to the setting coat in order to crush the second coat onto the first coat, resulting in a much higher sheen in the application.
- Grisaille is another type of lime plaster that is "fat.” In other words, it’s a thicker venetian plaster; this thickness allows for a really high burnish, resulting in a glossy finish.
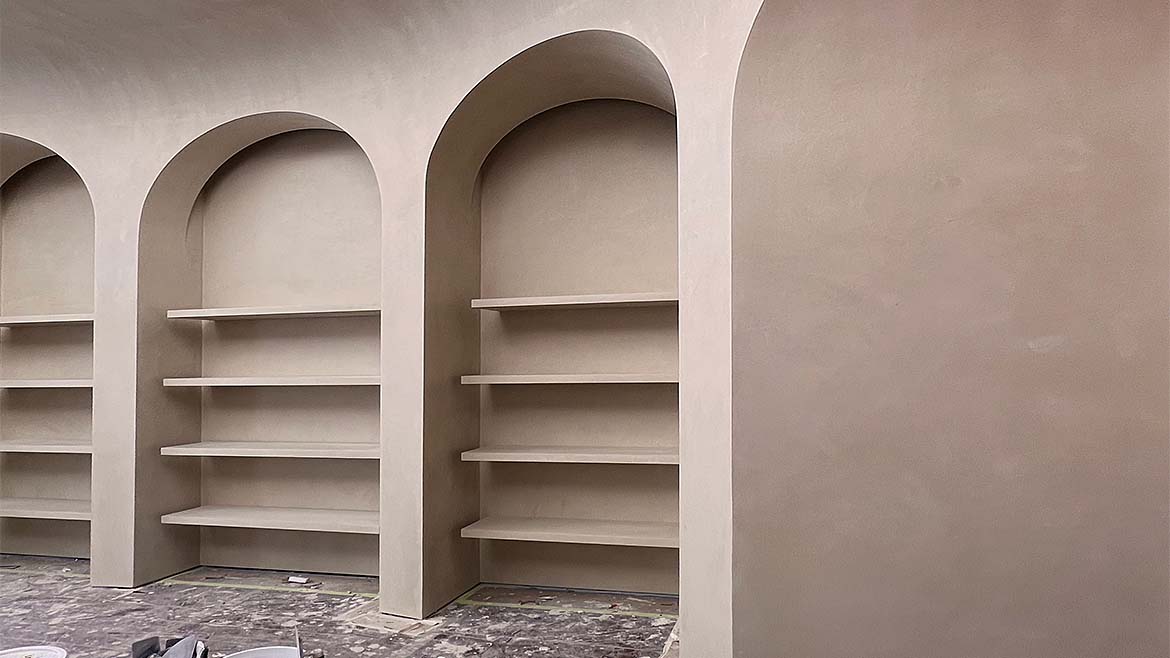
Generally speaking, you will find that products that are heavily based with acrylic binders tend to look a little more plastic-like in appearance and will be harder to burnish to a higher natural gloss. Whereas lime-based plaster tends to have a more natural luster and can often be polished to a really strong gloss that doesn’t look artificial, in the same manner that a really good piece of marble can either be honed or polished to a glossy finish. All lime plasters have that characteristic in common, as they are loaded with calcium carbonate and thus can be polished (all marbles are also calcium carbonate-based).
Another point I want to make is that all these finishes are a little bit fragile, meaning that they will scuff and get damaged if hit, but at the same time, they can be polished and often repaired fairly well.
I would also like to bring to your attention the fact that chemistry is involved with this product, and the lime-based plaster has a strong basic pH (alkaline), whereas the acrylic plaster has an acidic PH. If you start to mix lime into an acrylic-based plaster, often the acrylic finish will go into shock and start to jellify. This can often be resolved by adding a few ounces of white vinegar, which will lower the PH to be more compatible with the lime.
Safety Precaution: lime is fairly aggressive to the skin and the respiratory system when it is sanded. Because of its alkaline PH, it will dry out your hands, and the spatter in your eyes will burn. Remember to wear eye protection and gloves. Use moisturizing cream to hydrate your skin throughout the day. We often make a bath of water with 20 percent white vinegar and rub our hands with it to neutralize the basic pH of the lime.
Polished plaster applications are diverse as they are technically challenging but create some of the most interesting and organic finishes that are sought after in the high-end decorative market.
*Recommended Plasters: Color Atelier, Metropolis, Firenze, Golden Paintworks Venetian Plaster
Application
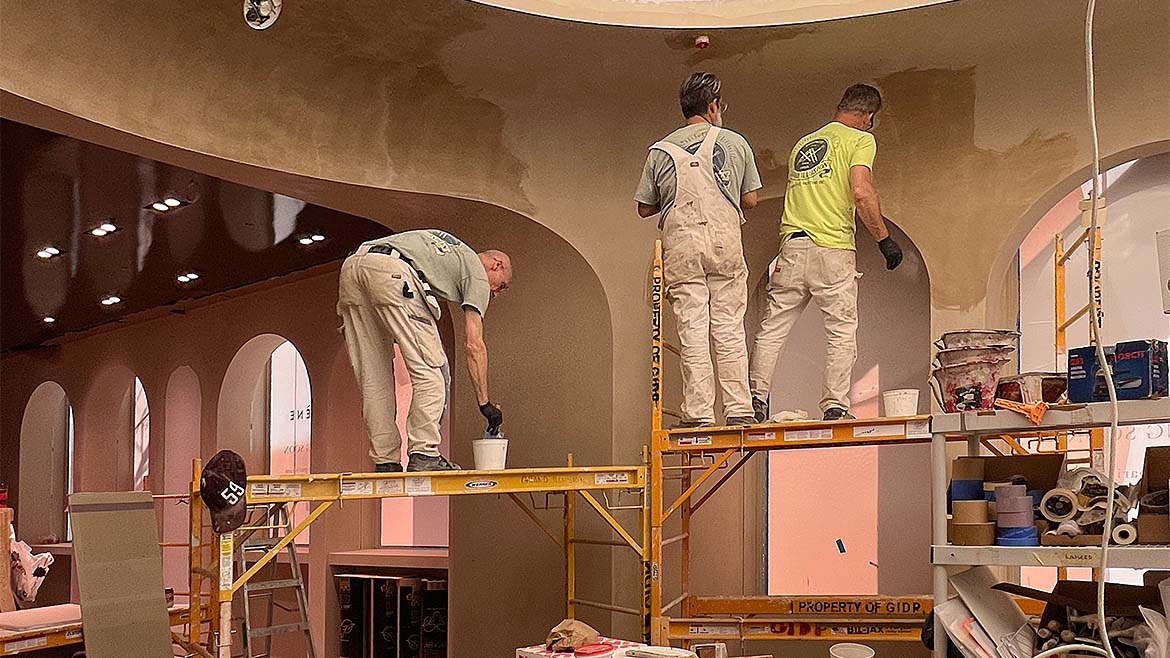
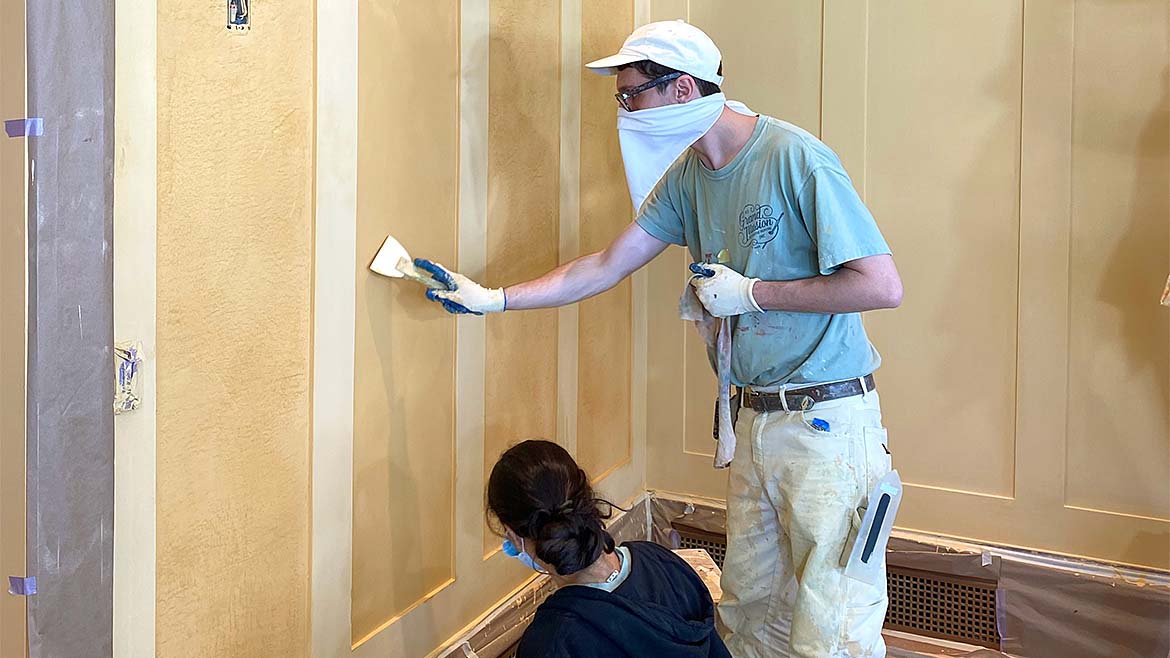
In terms of application, the most common application (but of course not the only one) in the technique of polished plaster happens in 3 phases. After which, there is a polishing step and an optional sealing step.
Application Phase 1: The Grab Coat—If working on smooth primed drywall, you will need to give the substrate a little bit of tooth in order to receive your marmorino, venetian plaster, or any type of polished plaster. There are several mineral primers that we like to use, particularly enthusiastic about Color Atelier brand Bonding Primer and Mineral Primer. It’s important when applying the mineral primer to avoid creating a rolled pattern but rather a more random multi directional movement. There are a lot of different primers out there with a very fine aggregate, that are compatible with receiving a layer of plaster on top. Note: if you have someone prepare a surface for you, always request a water-based primer over drywall instead of an oil-based primer, which allows for a little moisture transfer of moisture. Remember, in the old days, these types of plaster were applied directly to mortar-based masonry, which would absorb a lot of the moisture. This "grab coat” serves as the ladder to receive the next layer, so it does "roll,” but it also transfers the moisture to bond to the substrate. Materials: Rollers, Lime Wash Staining Brush (GLZ-51)
Application Phase 2: The Texture Coat—The texture coat is the application of plaster using a variety of tools, such as trowels or brushes, in order to create a pattern, such as short bursts of blade marks, rounded, stippled, knocked down, broad strokes, or an even material with a fine "peppery” aggregate that will show at the final stage. During the texture phase, you can also introduce stencils and different colors of plaster that will transfer through when you burnish your top layer. Smooth and fine finishes like venetian plaster may not require even a grab coat, and essentially, the texture comes from applying several layers of venetian plaster using the same tool. I personally like to create some interesting underneath texture so the underlying movements create a beautiful pattern that are exposed at the end when you polish your material. Materials: Trowels, Brushes
Application Phase 3: The Filler Coat—Next is the third layer, which can be referred to as the filler coat, polished coat, or makeup coat. This application is usually done with a smooth paste-like material that has no or very fine aggregate in order to start filling in the previous texture coat. It may require two, sometimes three, applications, depending on how textured your previous coat was. This thin and smooth coat is the polishable coat often applied with good-quality trowels.
Polishing—Finally, the polishing phase is not so much a coat in itself but rather the burnishing of the previous coat while it is setting (meaning drying but still with some moisture). This allows one to crush the top layer into the underlying layer using the pressure of the blade, creating a sheen and darkening the colors. This is often the most complex stage, as it requires the “sweet spot” of being dry enough to be bladed but not soft enough that it would be removed with strong pressure.
A word to the wise: polishing any of those polished plasters is always finicky, depending on the temperature, humidity, pressure with which the material is applied, and material thickness. All of these factors will have an impact on the final look, and that makes it very special. Sections of the walls will be dark and lighter and have movement; they will take on their own life. As a decorative painter, we try to control this as much as possible so it matches the control sample as much as possible. Always let the client know that since the material is plaster and not paint, variations will appear as it’s drying and after being polished. That is what makes it a unique system, as opposed to using a topcoat over paint or applying wallpaper. Variation comes with the territory.
Sealing (optional)—The final optional step is to seal your plaster finish depending on its location (especially for a wet room, kitchen, bathroom, or even high-traffic area). There are many different types of sealers; they are often wax-based, and it can be as simple as applying carnauba wax directly to the surface with a pad on your trowel or burnishing with a cloth while dry. Nowadays, a lot of companies have come up with emulsified wax, which is essentially wax particles in suspension in a waterborne gel-like texture, which makes it very easy to apply by rubbing it with a microfiber sponge or troweling down with a soft blade. Once dried, you can polish up this wax finish with a microfiber or with a clean trowel. Other types of sealers can be used, such as the impregnators that you find for stone or marble, as well as black soap, the traditional sealer for Cadillac of finishes.
As you can read, there are a multitude of different applications, products, and systems that can be used for a wide variety of results, but you can keep it as simple as getting a can of acrylic venetian plaster for your paint retailer and as complex as multilayered lime-based plaster from your manufactured specialty product. In any case, like most applications, it will require a little bit of effort and practice to achieve a good result. Timing is essential, and large walls will often require a team in order to avoid lat marks and other issues.
Tools of the Trade: Trowels
As in plaster, there are a wide variety of trowel options. You have your traditional “Italian” trowels, which have different shapes: rectangular, trapezoid, curved, and square. You have your “Japanese” trowels that are often finer, shaped like an obelisk, and have a center of gravity that is pretty much centered on the blade. All these different trowels offer distinct characteristics and qualities; they have to fit your hand size. The Japanese blades are generally lighter, and the handle is smaller. The "Italian" tends to be heavier and larger; it’s really what you are trying to do with them, the movement you want to achieve, and how you handle the trowel.
All these different trowels offer distinct characteristics and qualities; they have to fit your hand size. The Japanese blades are generally lighter, and the handle is smaller. The Italian ones tend to be heavier and larger; it’s really what you are trying to do with them, the movement you want to achieve, and how you handle the trowel. The blade can be made of stainless steel or plastic, and the gauge can be ultra-thin .2 millimeter (more flexible), thicker .6mm (sturdier) or rigid 2 millimeter. The selection of blade type and thickness is based on the type of material you are going to use. If you are using marmorino, with a heavier aggregate in the material, use a more sturdy blade. When you are doing smoother finishes like makeup coats of venetian plaster that do not have aggregate, you may favor a thinner, more flexible steel trowel. Plastic trowels are also used for certain applications and do not leave carbon marks. They also come in different thicknesses and flexibility.
To note when polishing white plaster: Even with stainless steel, as it’s rubbed again, the lime will transfer carbon to the material, leaving gray marks on the surface. White not terribly noticeable on gray or darker plasters, but for white or light plasters a “carbon mark” would be seen. The specialized Italian Trowel by Co.me, named the Bianko will fix this issue. These stainless steel trowels are finished with a patented coating that will minimize, if not stop, the transfer of carbon to your surface. They are more expensive than a run-of-the-mill trowel but worth the investment.
Recommended Tools: Rollers*, Lime Wash Staining Brush (GLZ-51)*, Japanese Trowels(TWJP)*, Co.me Italian Trowels (TWI)*, Bianko Trowel by Co.me (TWI-07*), paddle mixer trowels. These are available at fauxbrushes.com and other select hand trowel providers.
Images courtesy of Pierre Finkelstein/Grand Illusion Decorative Painting Inc.
Looking for a reprint of this article?
From high-res PDFs to custom plaques, order your copy today!


